From Timber to Table: The Complete Guide to Solid Wood Furniture Manufacturing
Every stage of solid wood furniture manufacturing — timber selection, kiln drying, joinery, sanding, finishing and final QC — explained for importers and buyers.

On this page
- What Is the First Step in Solid Wood Furniture Manufacturing?
- How Is Wood Prepared Before Cutting?
- What Cutting and Shaping Techniques Are Used?
- Why Is Mortise-and-Tenon Joinery the Gold Standard?
- How Are Furniture Pieces Assembled?
- What Does the Sanding Process Involve?
- How Is the Final Finish Applied?
- Quality Control: What Should Be Checked Before Shipping?
- Ready to Source Solid Wood Furniture?
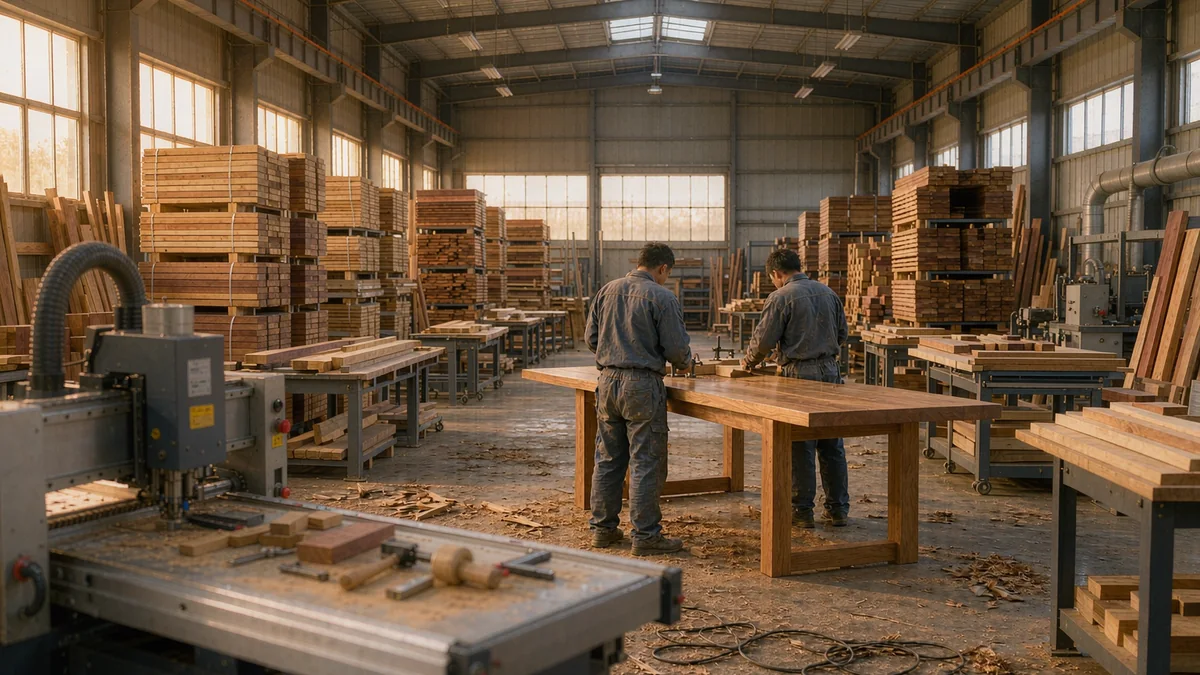
Solid wood furniture manufacturing involves eight core stages: timber selection, preparation (drying and milling), cutting and shaping, mortise-and-tenon joinery, assembly, sanding, finishing, and final quality control. Each stage directly affects the furniture’s durability, appearance, and compliance with international standards. This guide walks through every step with practical details for buyers, designers, and sourcing managers.
What Is the First Step in Solid Wood Furniture Manufacturing?
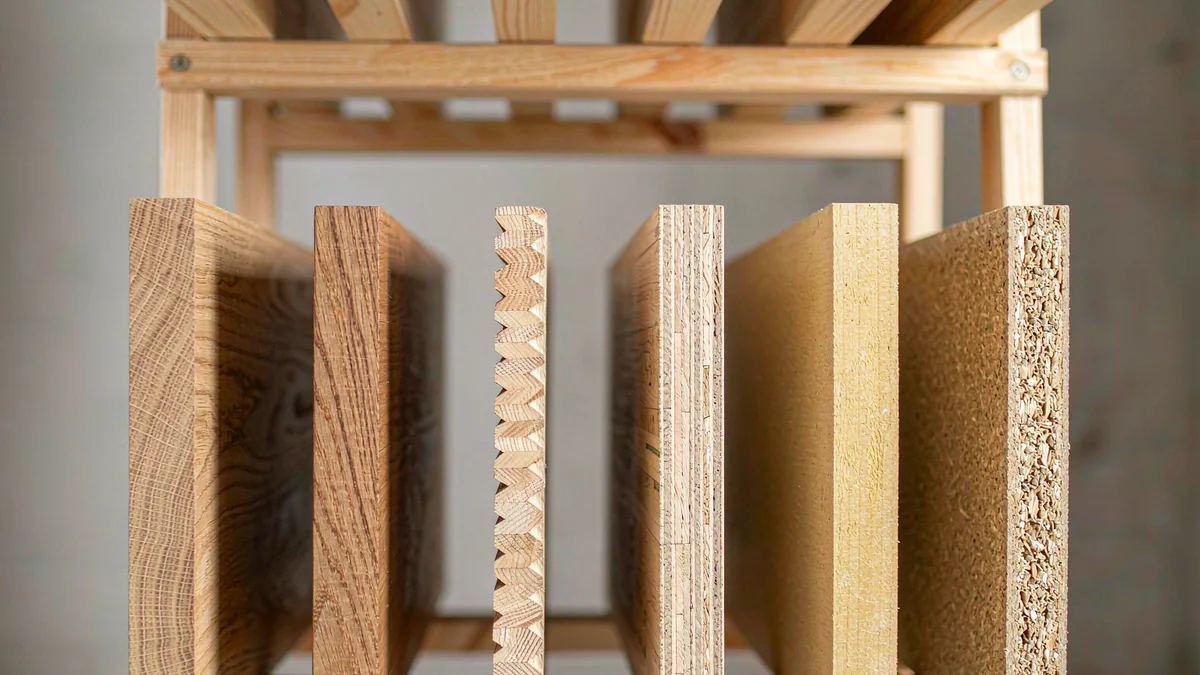
The first step is selecting the right timber species based on the furniture’s intended use, climate, and design style. Not all woods are equal—each has distinct hardness, grain patterns, movement characteristics, and cost.
For commercial furniture, key factors include:
- Hardness (Janka rating): Higher ratings resist dents and scratches. Oak (1,360 lbf) and maple (1,450 lbf) are common for high-traffic areas.
- Stability: Teak and mahogany have low shrinkage rates, making them suitable for humid climates.
- Grain and color: Walnut offers rich chocolate tones; cherry darkens with age; ash provides a light, modern look.
- Sustainability: FSC-certified wood is increasingly required by EU and North American buyers.
| Wood Species | Janka Hardness (lbf) | Typical Use | Moisture Stability |
|---|---|---|---|
| Oak | 1,360 | Dining tables, chairs | Good |
| Walnut | 1,010 | Luxury case goods | Excellent |
| Teak | 1,155 | Outdoor, hospitality | Excellent |
| Cherry | 950 | Bedroom, office | Good |
| Maple | 1,450 | Commercial seating | Fair |
After species selection, logs are inspected for defects—knots, splits, and insect damage—before being cut into rough lumber.
How Is Wood Prepared Before Cutting?
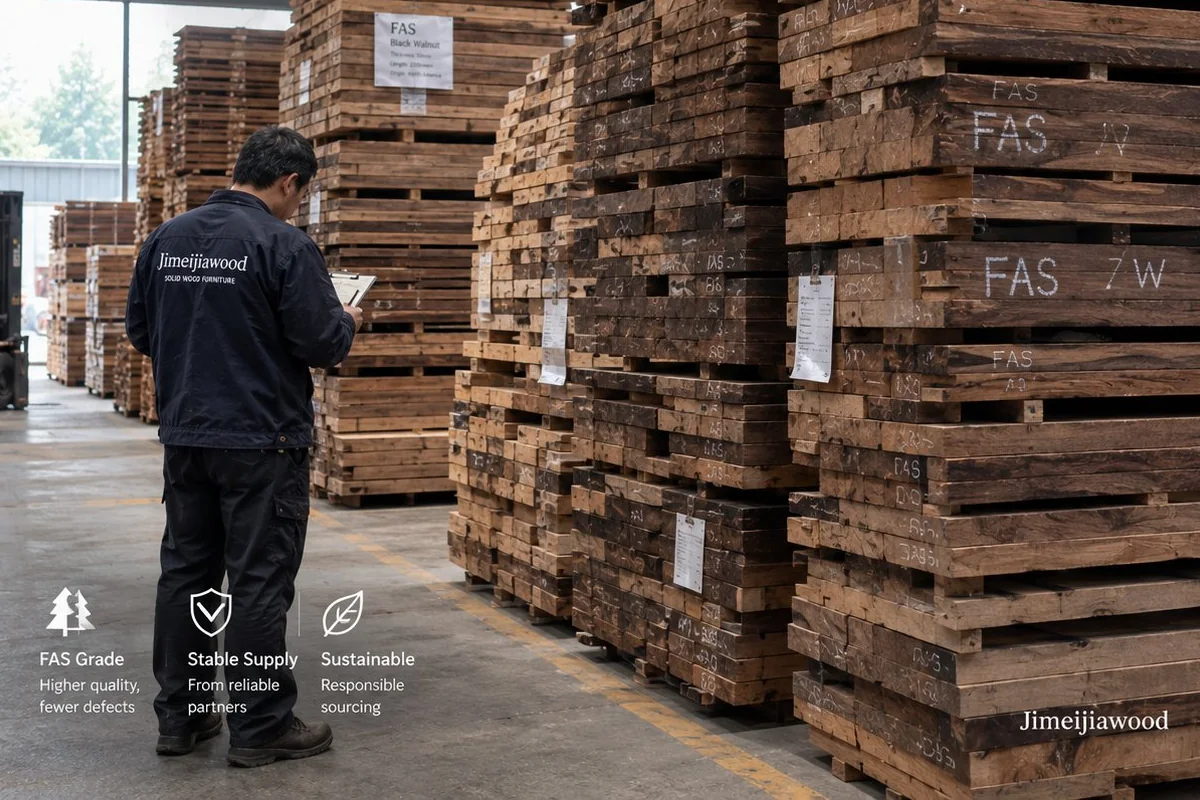
Preparation involves drying, milling, and grading to ensure the wood is stable and ready for precise cuts. This stage is critical: poorly dried wood will crack, warp, or twist after assembly.
Step 1: Kiln Drying
Green lumber contains 60–100% moisture. It is stacked with spacers and dried in a kiln to 6–8% moisture content for indoor furniture (or 10–12% for outdoor use in some climates). This process takes 2–6 weeks depending on species and thickness.
Step 2: Stress Relief
After drying, boards are allowed to equalize in a controlled environment for 3–7 days. This prevents internal stresses from causing movement later.
Step 3: Milling and Planing
Rough boards are planed on both faces and jointed on one edge to create a flat, square reference surface. Thickness planers then bring the wood to final dimensions.
Step 4: Grading and Marking
Boards are graded for defects and marked for cutting. Higher-grade lumber goes to visible surfaces; lower grades are used for structural parts.
What Cutting and Shaping Techniques Are Used?
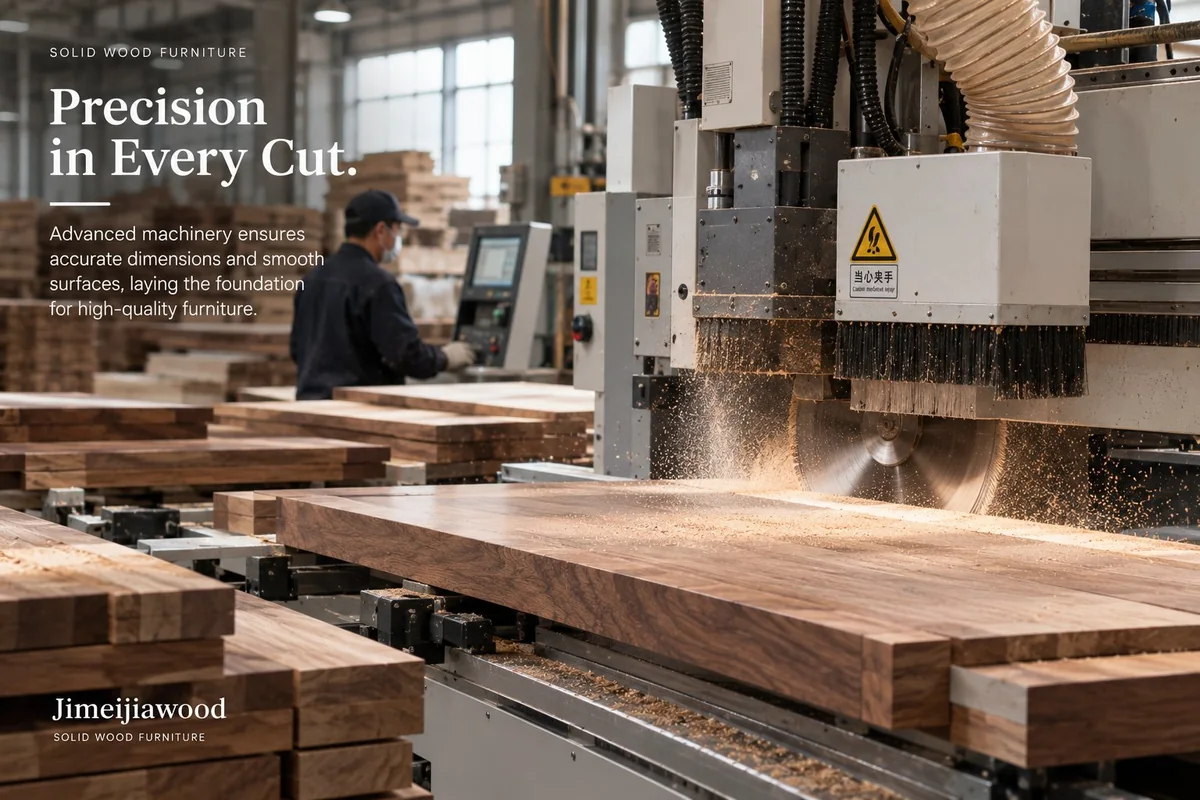
Cutting and shaping transform rough lumber into precise components using a combination of saws, routers, and CNC machines. Accuracy at this stage determines how well joints fit and how easily the furniture assembles.
Common operations include:
- Cross-cutting: Cutting boards to length with a miter saw or radial arm saw.
- Ripping: Cutting boards to width on a table saw.
- Joinery cutting: Dados, grooves, and mortises are cut with routers or dedicated machines.
- Shaping: Curved parts are cut on a band saw and refined with spindle sanders.
- CNC machining: For complex or repeated parts, CNC routers ensure consistent tolerances within ±0.2 mm.
Quality check: After cutting, each component is dry-fitted to verify dimensions. Any deviation greater than 0.5 mm is corrected before assembly.
Why Is Mortise-and-Tenon Joinery the Gold Standard?
Mortise-and-tenon joinery is the gold standard because it creates a mechanical interlock that resists racking, twisting, and pulling forces far better than screws or dowels. A well-made mortise-and-tenon joint can last for generations.
How it works:
A rectangular projection (tenon) is cut on the end of one piece and fits into a rectangular hole (mortise) in another. Glue is applied, and the joint is clamped until cured.
Types used in furniture:
- Through mortise-and-tenon: The tenon passes completely through the mortise, visible on both sides. Strong and decorative.
- Blind mortise-and-tenon: The tenon stops inside the mortise, hidden from view. Common in table aprons and chair legs.
- Wedged mortise-and-tenon: A wedge is driven through the tenon to lock it in place. Used in high-stress applications.
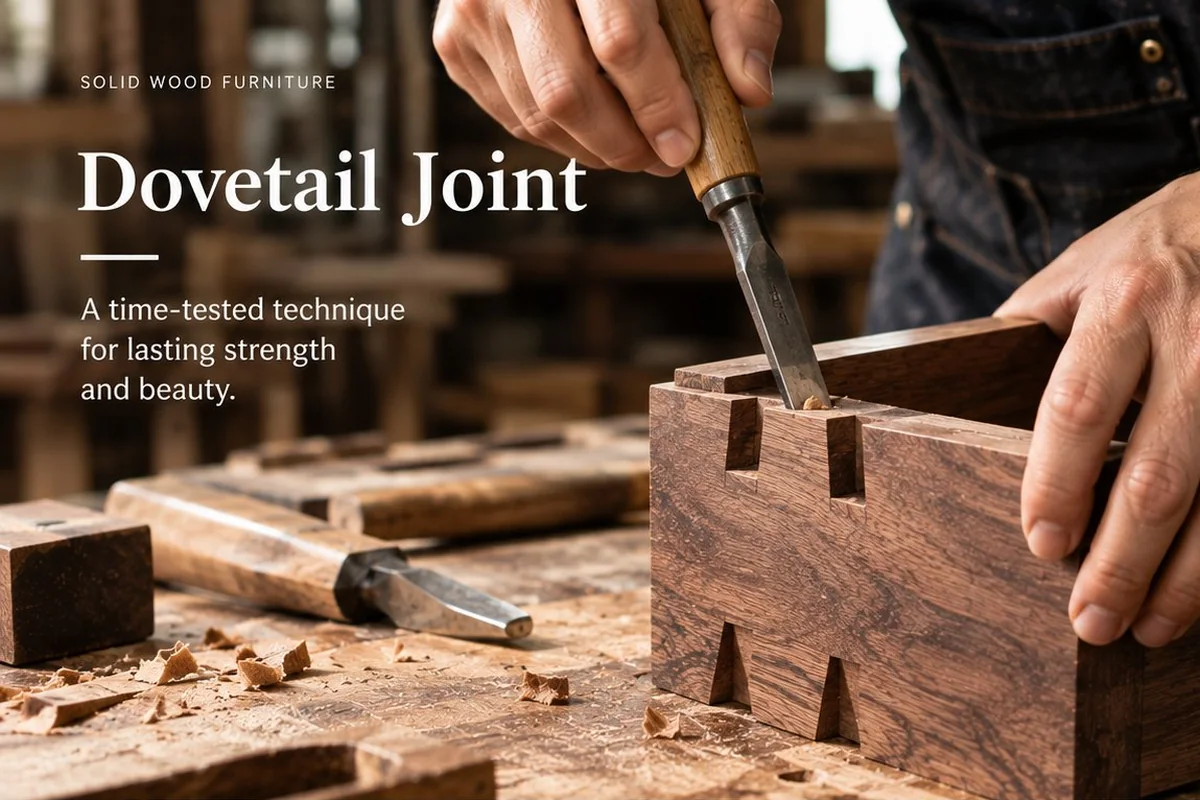
- Dovetail: An interlocking joint with angled pins and tails, used for drawers and carcass corners.
Hand-cut vs. machine-cut:
Hand-cut joints offer superior fit for custom pieces, while machine-cut joints (using hollow chisel mortisers and tenoning jigs) provide consistency for production runs. Both are acceptable if tolerances are tight.
Experience note: In our factory, every mortise-and-tenon joint is test-fitted before glue-up. We reject any joint with more than 0.3 mm of play—this ensures zero squeaks and long-term stability.
How Are Furniture Pieces Assembled?
Assembly involves gluing, clamping, and squaring the components into a complete piece. This stage requires careful sequencing and constant checking for squareness and alignment.
Step 1: Dry Assembly
All parts are put together without glue to confirm fit and identify any issues.
Step 2: Glue Application
PVA (polyvinyl acetate) glue is standard for interior furniture. Polyurethane glue is used for outdoor pieces due to its water resistance. Glue is applied to both mortise and tenon surfaces.
Step 3: Clamping
Bar clamps, pipe clamps, and web clamps hold the joints tight while glue cures. Clamping pressure should be firm but not excessive—over-clamping can starve the joint of glue.
Step 4: Squaring
Diagonal measurements are taken to ensure the assembly is square. Adjustments are made before the glue sets.
Step 5: Curing
Glue requires 24 hours to reach full strength. The assembled piece is left in a climate-controlled area.
What Does the Sanding Process Involve?
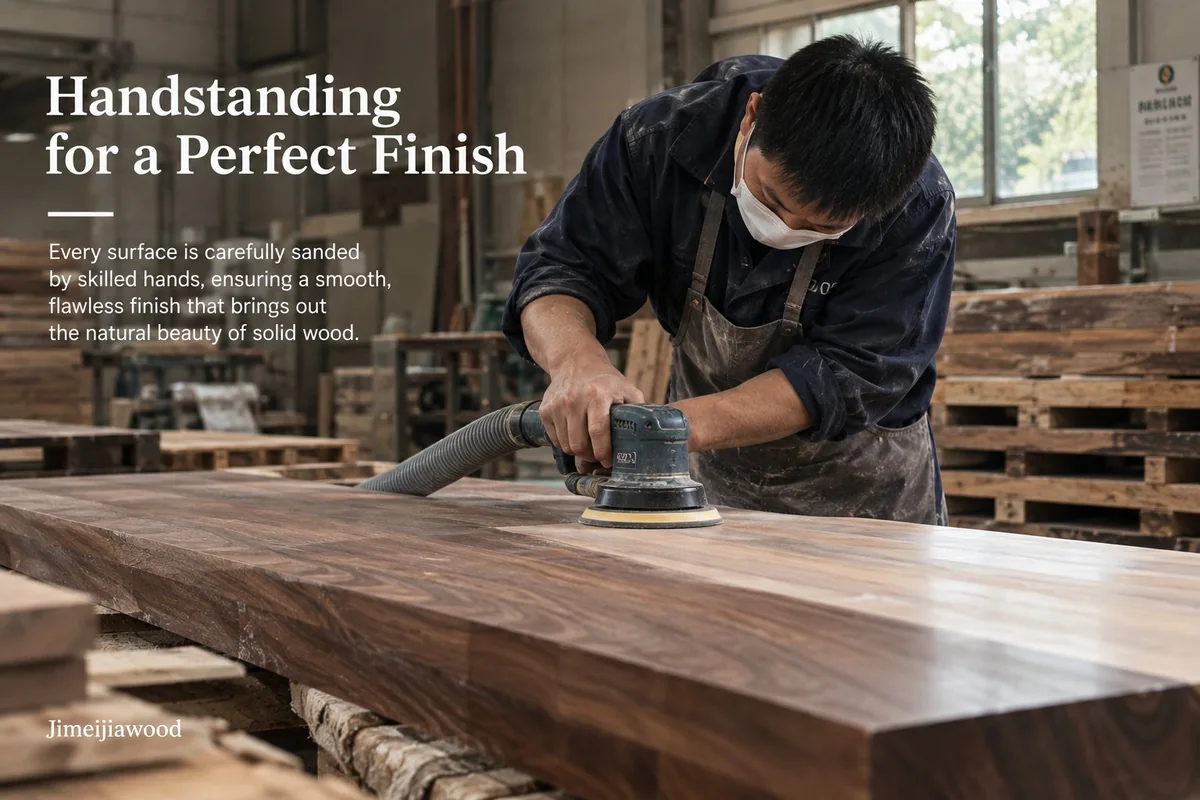
Sanding removes tool marks, levels surfaces, and prepares the wood for finishing. It is a progressive process—starting with coarse grits and ending with fine grits.
Typical sanding sequence:
- 80 grit: Remove planer marks and rough spots.
- 120 grit: Smooth out scratches from 80 grit.
- 150 grit: Refine the surface.
- 180 grit: Prepare for most finishes.
- 220 grit: For high-end finishes or before applying stain.
Key considerations:
- With the grain: Always sand parallel to the wood grain to avoid cross-grain scratches.
- Edges: Break sharp edges with a 220-grit hand sanding block.
- End grain: End grain absorbs stain differently—sand to 220 grit and consider a sanding sealer.
- Inspection: Wipe with a tack cloth and inspect under raking light. Any remaining scratches will show after finishing.
How Is the Final Finish Applied?
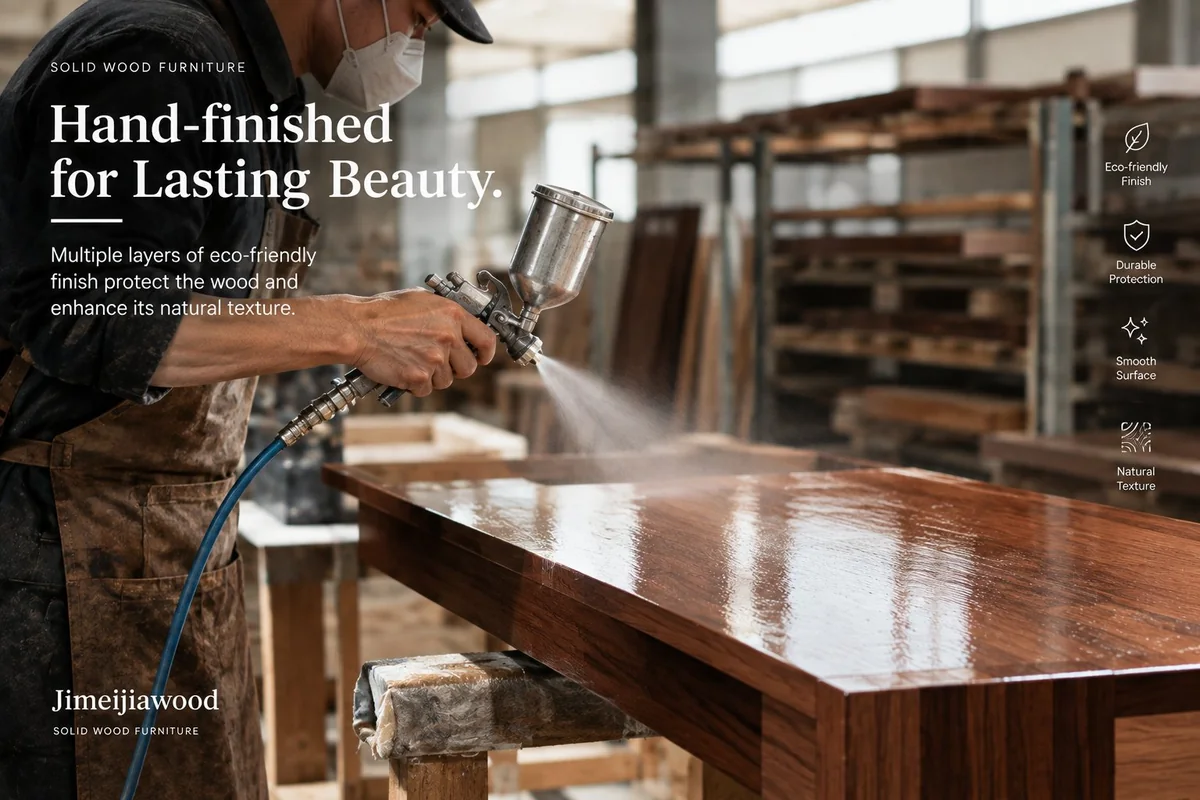
The final finish protects the wood, enhances its appearance, and determines the furniture’s maintenance requirements. Options range from natural oils to synthetic lacquers.
Common finish types:
| Finish Type | Durability | Sheen | Maintenance | Best For |
|---|---|---|---|---|
| Oil (linseed, tung) | Low | Matte | Re-oil annually | Rustic, natural look |
| Wax | Low | Satin | Re-wax every 6 months | Antiques, low-traffic |
| Water-based lacquer | Medium | Matte to gloss | Damp cloth | Eco-friendly, indoor |
| Solvent-based lacquer | High | Matte to gloss | Damp cloth | Commercial, high-traffic |
| Conversion varnish | Very high | Satin to gloss | Damp cloth | Hospitality, restaurants |
| UV-cured coating | Very high | Matte to gloss | Damp cloth | Production lines |
Application steps:
- Staining (optional): Apply stain evenly, then wipe off excess. Allow to dry.
- Sealing: Apply a sanding sealer to lock in stain and raise grain.
- Sanding: Lightly sand with 320 grit between coats.
- Topcoats: Apply 2–3 coats of the chosen finish, sanding between coats.
- Curing: Allow 7–14 days for full cure before shipping.
Environmental compliance:
For EU and North American markets, finishes must meet VOC regulations. Water-based and UV-cured coatings are preferred for low emissions.
Quality Control: What Should Be Checked Before Shipping?
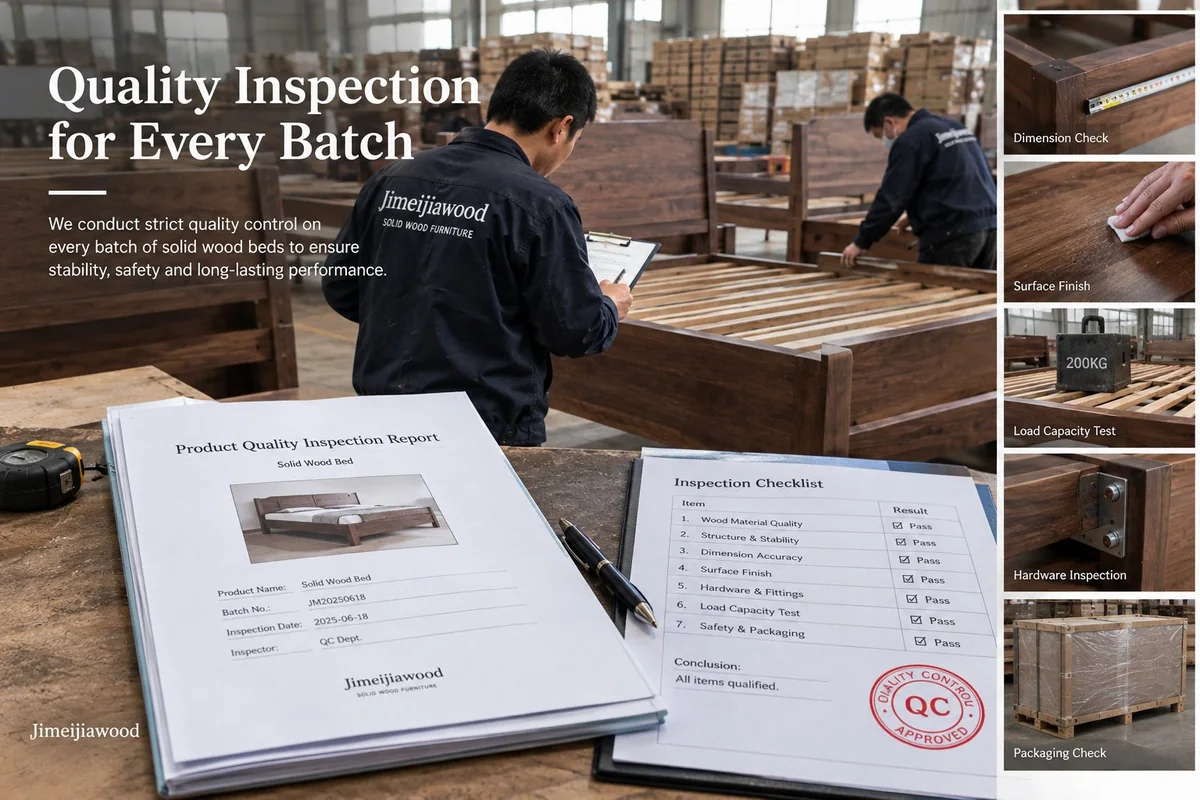
Before shipping, every piece undergoes a final inspection to ensure it meets specifications and is free from defects.
Checklist:
- Structural integrity: No movement in joints, no squeaks.
- Surface quality: No scratches, drips, or uneven finish.
- Dimensions: Verify against technical drawings.
- Hardware: Check hinges, slides, and handles for smooth operation.
- Packaging: Corner guards, foam wrap, and moisture barrier for sea freight.

Ready to Source Solid Wood Furniture?
Whether you need 50 dining chairs for a boutique hotel or 500 tables for a restaurant chain, our factory delivers consistent quality and on-time shipping.
Browse our solid wood furniture or message us on WhatsApp with your product list and we will confirm MOQ, lead time and finish options line by line.
This article is filed under our Materials and Craftsmanship topics. For more guides on specifying and sourcing solid wood, see all Materials articles.
Frequently Asked Questions
How long does it take to manufacture solid wood furniture?
Typical lead time is 30–45 days for production, plus 7–14 days for finishing and curing, because solvent-based topcoats need to reach full hardness before the piece can be packed. Custom designs, new tooling or an unusual finish can add one to two weeks. We confirm the exact schedule in writing with the order confirmation, and the clock starts only once the pre-production sample is approved.
What is the best wood for outdoor furniture?
Teak, iroko and acacia are the most reliable choices, because their natural oils make them resistant to rot and insect attack. Whatever the species, outdoor pieces must be finished with a marine-grade oil or varnish and re-coated annually, and any metal fixings should be stainless steel. Solid wood also needs to be dried to a slightly higher moisture content — around 10–12% — for outdoor use in humid climates.
Can solid wood furniture be shipped to humid climates?
Yes, if the timber is dried to 10–12% moisture content for that market rather than the 6–8% used for indoor furniture in temperate regions, and if the piece is packaged with a moisture barrier. We also seal all surfaces, including undersides and internal faces, because unbalanced sealing is the most common cause of movement after arrival. Moisture content is measured and recorded before packing.
Do you offer custom finishes?
Yes. We can match a specified RAL or Pantone colour and offer matte, satin or gloss sheens. Send us a physical control sample or a target colour reference and we will produce a spray-out panel for approval before the production run starts, so the whole order is matched to one signed reference rather than to a screen image.
What certifications do you provide?
We hold FSC, BSCI, ISO 9001 and ISO 14001 certifications, and we can supply the certificates and the related audit or test reports on request. Buyers who need documentation for a specific market should tell us the destination country at enquiry stage, so we can confirm which reports apply and arrange any additional third-party testing before production.
Sources & References
Get a furniture quote
Sourcing solid wood furniture for your market? Send us your drawings, target quantities, and destination port — we will reply with pricing, MOQ, and lead time.